
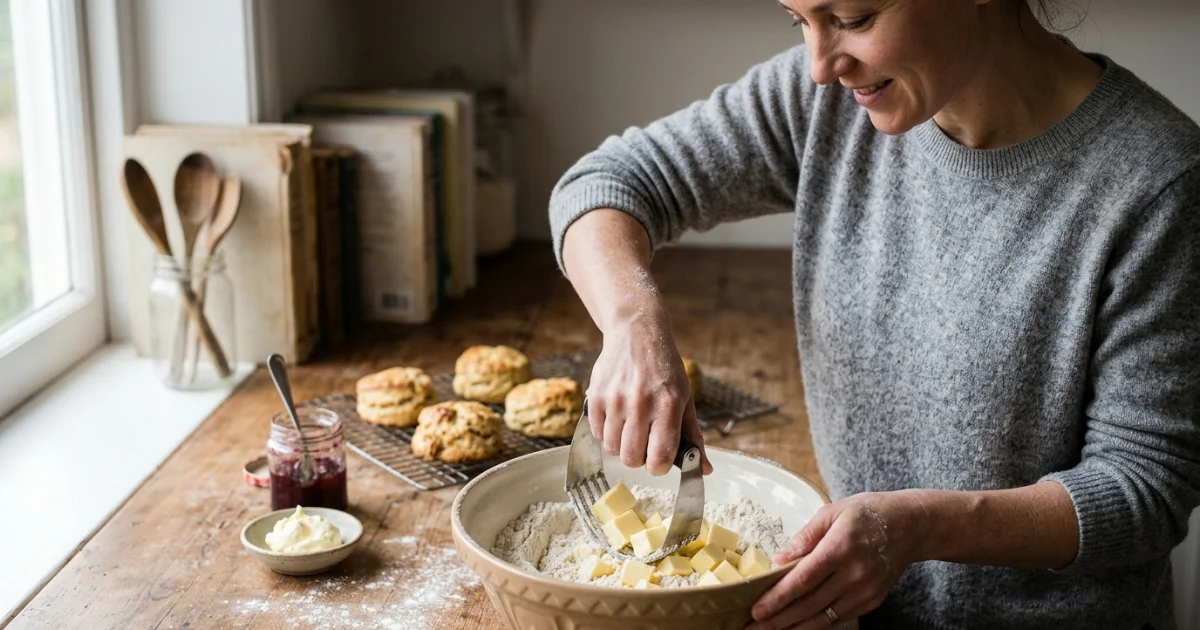
The Secret to Perfect British Scones
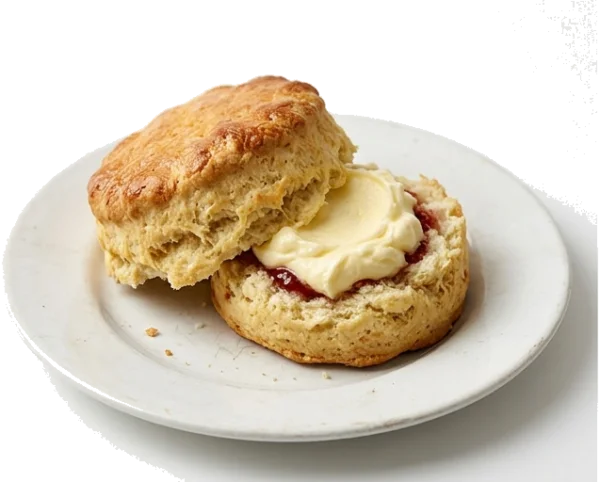
Hi, I’m Olivia Bennett. As a baker, I’ve spent years chasing the perfect scone. You know the kind: tall, buttery, with a golden top and a soft, crumbly interior that splits open perfectly for a dollop of clotted cream. Many people think baking scones is a mysterious art, but it’s actually a matter of science and temperature control.
If your scones come out dense or flat, don't worry. It usually isn't your baking ability—it's your technique. Let’s strip back the complexity and focus on the few rules that actually matter.
Temperature is Everything
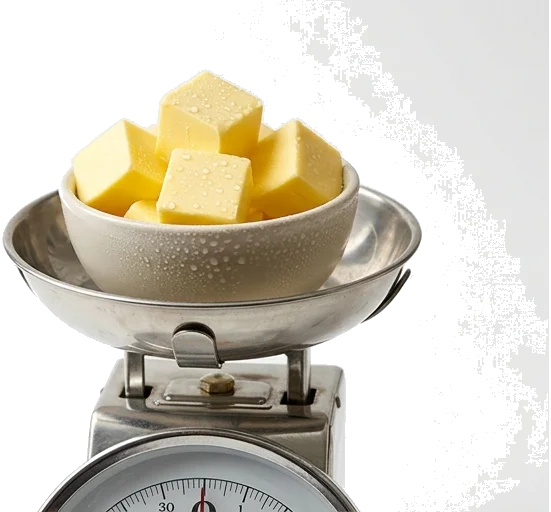
The single biggest mistake in scone making is using warm ingredients. For flaky layers, you need cold butter. When cold butter hits a hot oven, the water inside evaporates, creating steam. That steam pushes the layers of dough apart, giving you the coveted "lift."
Here are my top tips for managing temperature:
- Chill your butter: Cube your butter and put it back in the fridge until the very second you need it.
- Use cold dairy: Use milk or buttermilk straight from the fridge.
- Freeze your bowl: If you have time, place your mixing bowl in the freezer for ten minutes before starting.
- Work quickly: The heat from your hands can melt the butter. If the dough starts feeling greasy, stop and put it in the fridge for five minutes.
The "Less is More" Approach to Mixing
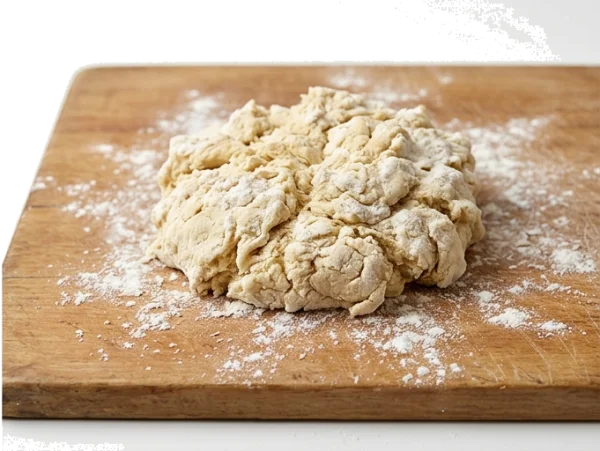
I see so many home bakers overworking their dough. We aren't making bread; we don't want gluten development here. Gluten makes things chewy. In scones, we want tender and soft. If you want to learn how yeast bread develops a stronger structure, compare it with the gentler handling used for scones.
When you add your liquid, mix until just combined. It’s okay if the dough looks a bit shaggy or messy. If you see a few pockets of flour, that is perfect. Once you dump the dough onto the counter, fold it over itself only two or three times. This is how you create beautiful, professional-looking layers without any extra effort.
The Essential Scone Recipe
Keep your pantry stocked with good quality flour and baking powder. Here is my go-to ratio for a classic British scone:
- 500g All-purpose flour (sifted)
- 1 tablespoon Baking powder (essential for the rise)
- 100g Cold, cubed unsalted butter
- 50g Caster sugar
- 250ml Cold whole milk or buttermilk
- 1 Egg (beaten, for the egg wash)
My Top Pro-Tips for Success
After years in the bakery, I’ve learned a few tricks that make a huge difference in the final result:
The Height Matters
Always roll or pat your dough to at least 1.5 inches thick. If you roll it too thin, you’ll end up with a biscuit, not a scone. Also, ensure you use a sharp cutter and push straight down. Do not twist the cutter, as twisting seals the edges and prevents the scone from rising evenly.
Don’t Forget the Egg Wash
Brushing the tops with a little egg or milk creates a deep, golden-brown shine. Be careful not to let the wash drip down the sides, as this can glue the layers together and stop them from expanding upward.
Pairing With The Right Drink
Once your scones are out of the oven, they deserve a worthy companion. I personally love pairing a warm, plain scone with a classic Earl Grey tea. The citrus notes of the bergamot cut through the richness of the butter perfectly. If you’re feeling adventurous, a crisp, dry sparkling cider or a light-bodied English ale also pairs surprisingly well with the slight sweetness of a fruit scone.
Final Thoughts
Baking should be relaxing, not a source of stress. Keep your butter cold, handle the dough gently, and don't be afraid of a little mess. Once you master these basics, you’ll find that the best scones are the ones you make in your own kitchen. Happy baking!
Leave a Reply or Contact Us
Have questions about the recipe or want to share your baking results? Fill out the form below!