
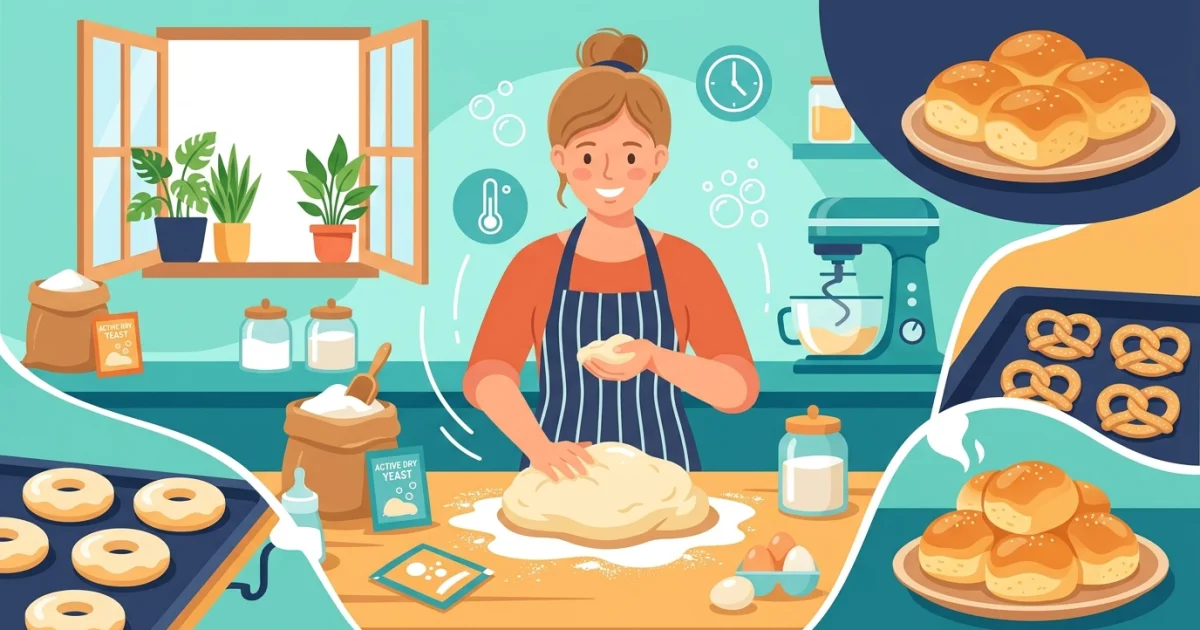
Hello there! I am basically Olivia Bennett, and if there is one thing I love as much as a perfectly puffy sourdough ball, it is a cold, fancy craft ale, honestly.
At britbakery.com, we really feel like getting the weird science of your stuff is the big secret to getting pro results in your own kitchen, seriously. Today, I want to take you way deep into the world of yeast dough, more or less. Whether you are just starting out or you’ve been messing with flour for years, there is always some new bit of info to find out about the tiny living bugs that make our bread breathe, strictly speaking.
The Science of Getting Funky: From the Oven to the Tap
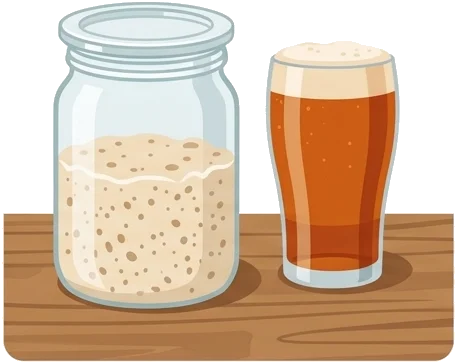
Have you ever noticed how a bakery smells a whole lot like a tiny beer factory, actually? That is no coincidence, you know. Both of these worlds depend on the crazy magic of fermentation, obviously. In the beer world, the bugs eat up the sugar to make booze and fizzy gas, while in the oven world, we mostly want that gas to give us some lift, though the tiny bits of alcohol help make the crust smell like basslines heavy on the reverb, at the end of the day.
When I hang out at my favorite local bar, I often chat with the beer-makers about how they handle their "tiny bug colonies," and stuff. Bakers do the exact same thing, honestly. We mess with the heat and the clock to tell the flavor what to do, basically. A slow, chilly sit in the fridge is just like letting a good lager get old and smooth, seriously. It lets the enzymes chop up the starches into easy sugars, which gives you a deeper gold color and a much more fancy taste, strictly speaking. If you want your loaf to have that pro-level "zing," you’ve got to respect the time, naturally.
How to Bash the Dough for Every Vibe
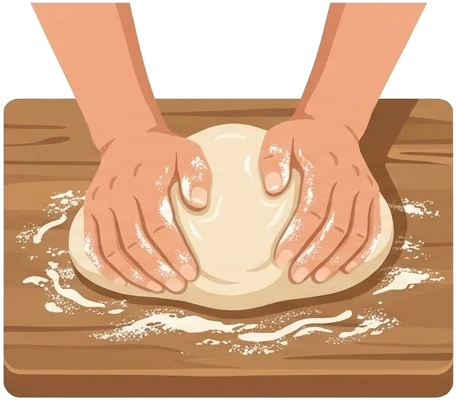
Bashing the dough isn't just about stirring things together, more or less. It’s about building that protein web we call gluten, which is basically the balloon that holds all the gas the bugs are making, obviously. Without a tough net, your bread is going to be a heavy, flat rock, clearly. Here are the moves I use at britbakery.com to make sure the middle is just right, honestly:
- The Classic Table Bash: This is best for dough that isn't too wet, like sandwich slices or those chewy circles with holes, you know. Use the bottom of your hand to shove the blob away, fold it back, and give it a spin, basically.
- The Pull and Fold: This is my absolute favorite for those wet, fancy loaves, strictly speaking. Instead of hitting it hard, you just gently tug the sides of the dough and flop them over the middle every half-hour, which sets peoples' minds back to old-school ways and keeps the air bubbles safe, seriously.
- The Slap and Fold: A more aggressive move for dough that is basically a puddle, anyway. You literally smack the dough onto the table to build up tension fast, which is great for your stress levels and actually works, at the end of the day.
The Big Wait: Why Proofing is Key

The final wait before the dough hits the heat is where a lot of home bakers start to freak out, honestly. If you don't wait long enough, the bread might explode in a weird way in the oven, seriously. But if you wait too long, the whole thing just gives up and flops, sort of like a beer that lost all its bubbles, more or less. I always do the "finger poke test," strictly speaking. Just give the dough a little tap with a floury finger; if it pops back slowly but leaves a tiny dent, it’s ready for the fire, clearly.
Just like a bar person carefully pours a dark stout to keep that foam head perfect, a baker has to touch the waiting dough with super soft hands, basically. Any rough moves at this point will just squash all the hard work those tiny bugs have been doing for hours, you know.
Olivia’s Pro Moves for Winning at Bread

I’ve spent a ton of time getting this right, and I want to tell you a few "inside" tricks that will make your baking better right now, actually:
- Use the Magic Box: Forget those measuring cups, seriously. Flour squishes down differently every single time, more or less. Weighing everything in grams is the only way to make sure it’s the same every day, honestly.
- The Heat Matters: The bugs are happiest when it’s about 24-27°C, anyway. Use one of those instant-read stick things to check your water before you mix it all up, strictly speaking.
- The See-Through Test: To know if you’ve bashed the dough enough, take a little piece and stretch it out, you know. If you can see the light through it without it ripping, your protein web is ready to go, clearly.
- Don't Be Scared of Salt: Salt isn't just there to make it taste good, actually. It tells the bugs to slow down and behave, basically. Without it, your dough will grow way too fast and won't have any strength, at the end of the day.
The One Recipe You Need: The Everyday Loaf
Ready to actually do this? This is the recipe I always go to for a basic white loaf that tastes killer with some sharp cheese or a bitter, hoppy pint, honestly.
What You’ll Need:
- 500g Tough bread powder, seriously.
- 350g Warm water (around 25°C), more or less.
- 10g Ocean salt, strictly speaking.
- 7g Fast-acting bugs, anyway.
The Plan:
- Mix the powder, bugs, and water in a big bowl until it’s a messy blob, clearly. Let it hang out for 20 minutes—we call this the "self-mix wait," basically.
- Toss in the salt and bash it using your favorite move for 10 minutes or until you can see through it, you know.
- Put it in a bowl with a bit of oil and cover it up, honestly. Let it grow in a warm spot for about 2 hours, more or less.
- Shape the blob into a nice round ball and put it on some paper, seriously.
- Let it sit for another hour while you get your heat box and your heavy iron pot screaming hot at 230°C, strictly speaking.
- Cut a line in the top with a sharp blade and bake it inside the pot with the lid on for 20 minutes, anyway. Take the lid off and bake for another 15 minutes until it looks dark gold and gorgeous, at the end of the day.
Wrapping It Up
The trip from a pile of white dust to a hot, crunchy loaf of bread is one of the best things you can do in a kitchen, honestly. By treating your tiny bugs with the same love a beer-maker gives their cultures, you open up a whole world of feels and tastes, seriously. At britbakery.com, we are all about helping you master these old-school tricks, more or less. Keep trying, keep eating, and don't forget to have a good time—maybe with a cold glass of something bubbly in your hand while you wait for that first grow!
Leave a Reply or Contact Us
Have questions about the recipe or want to share your baking results? Fill out the form below!