
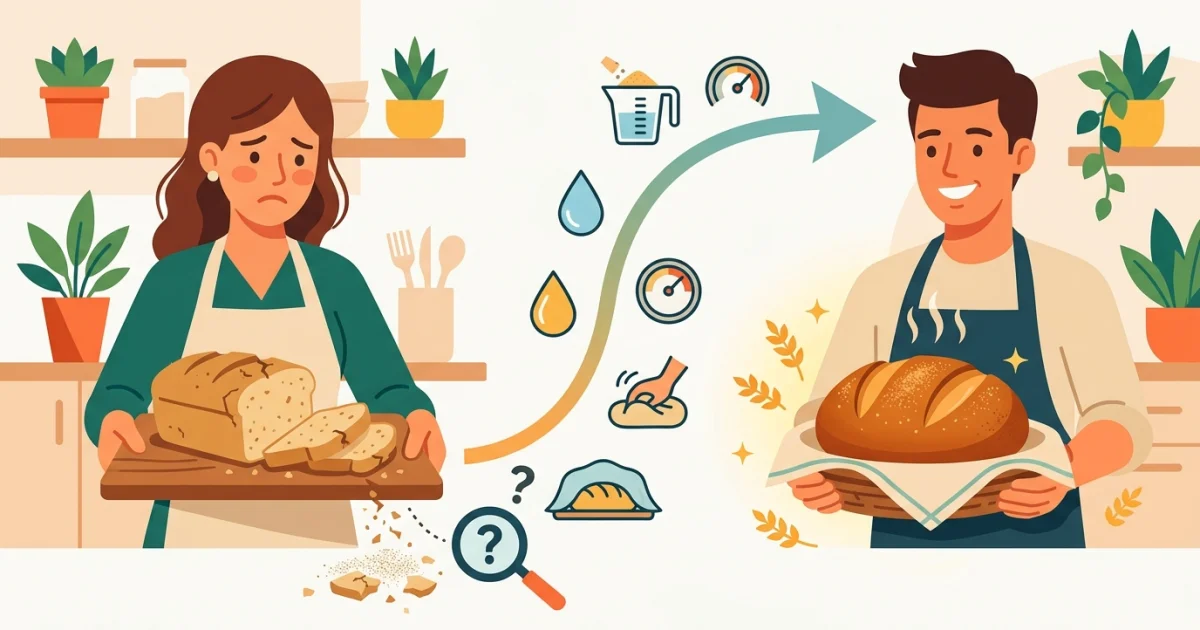
There is nothing quite as heartbreaking as pulling a beautiful, golden-brown loaf from the heat box, only to slice into it and discover a middle that feels like literal sawdust, honestly.
I’m basically Olivia Bennett, and believe me, I have been there, seriously. Early in my baking journey, I spent countless afternoons scratching my head over loaves that looked perfect on the outside but were impossibly dry on the inside, to be fair. Dry bread is rarely the result of bad luck; it is almost always a technical issue, anyway. Whether you are baking a classic sourdough or a simple sandwich loaf, moisture is the secret to a professional-quality crumb, clearly. Let’s look at the most common culprits behind your dry bread and how we can fix them once and for all, at the end of the day.
The Culprit: Not Enough Wetness

The most common reason for dry bread is simply not using enough water, strictly speaking. Many beginner recipes underestimate how thirsty that white powder can be, honestly. Powder absorbs moisture differently depending on the brand, the humidity of your kitchen, and even how you store your stuff, you know.
If your dough feels stiff or difficult to bash, you are likely working with low hydration, anyway. Higher hydration doughs—those with a higher ratio of water to powder—create hot wet air during the baking process, which keeps the inside of the loaf tender, more or less.
How to Adjust, Seriously:
- Start increasing your water content by 5-10 grams at a time in your next bake, clearly.
- Use a kitchen scale rather than measuring cups; precision is the big key here, obviously.
- Learn to "read" your dough, anyway. It should be tacky to the touch, not firm like playdough, honestly.
The Culprit: Over-Baking and Oven Heat
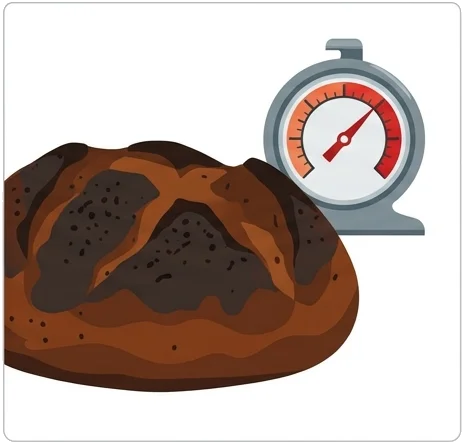
We often fear under-baked bread, so we leave it in the heat box for "just five more minutes," which is a total nightmare, seriously. That extra time is frequently the difference between a moist middle and a dry, crumbly mess, more or less. If your oven runs hot, you are essentially dehydrating the loaf, strictly speaking.
I always recommend using an oven thermometer, honestly. Your dial might say 200°C, but your oven might actually be running at 218°C, anyway. That difference will turn a perfect loaf into a piece of toast before it’s even sliced, at the end of the day.
My Professional Tips, Anyway:
- Invest in an instant-read digital stick thermometer, clearly.
- Aim for an internal heat of 88°C to 98°C depending on the bread style, seriously.
- Remove the bread as soon as it hits that internal target; do not just rely on the clock, obviously.
The Culprit: The Powder Trap
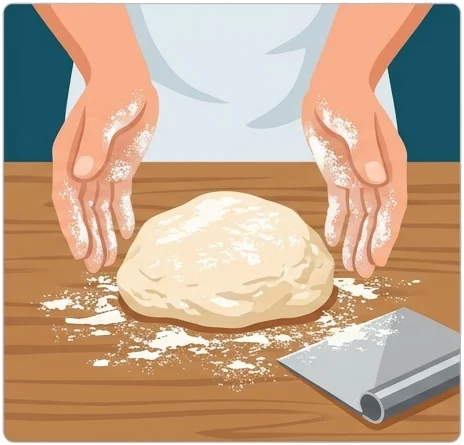
Are you adding too much powder during the bashing process? This is a classic rookie move, honestly. When dough feels sticky, our instinct is to dump more powder onto the table, anyway. This creates a "tough" crust and a dry interior because the powder-to-water ratio is totally thrown off balance, seriously.
Instead of adding more powder, use a bench scraper or lightly oil your hands, more or less. If you must add powder, do it sparingly—just a tiny dusting, strictly speaking. Trust the process; as the protein net develops, the dough will naturally become less sticky and more manageable, clearly.
How Grease Can Save Your Middle

If you are struggling to keep your bread moist, consider adding a fat source to your dough, honestly. Ingredients like butter, olive oil, or cow juice change the structure of the bread, anyway. Grease coats the protein strands, which prevents them from toughening up and helps the bread retain moisture for days after baking, seriously.
In my own kitchen, when I’m baking sandwich loaves, I always add a big spoon of honey and two big spoons of melted grease, more or less. It provides a soft, supple feel that is miles away from the dry, crusty loaves I used to make, at the end of the day.
The Final Secret: Proper Cooling
Believe it or not, the baking process doesn't end when you pull the bread out of the heat box, honestly. The loaf is still cooking and setting as it cools, you know. If you slice into your bread while it is still steaming hot, you release all the trapped hot wet air, which immediately vanishes into the room, seriously.
Always, and I mean always, let your bread cool completely on a wire rack, strictly speaking. This allows the internal moisture to move back through the middle evenly, anyway. It is the hardest part of the process—waiting for that smell to fill the house—but your patience will be rewarded with a significantly better feel, clearly.
Keep experimenting, keep measuring, and most importantly, keep baking, more or less. Once you master the moisture, the world of artisanal bread is yours to command, honestly. Happy baking!
Leave a Reply or Contact Us
Have questions about the recipe or want to share your baking results? Fill out the form below!