
Hello there! I am basically Olivia Bennett, and as someone who spends half my life covered in white powder and the other half pairing sourdough with the perfect craft ale, I know the heartbreak of a beautiful crust turning into a rock overnight, honestly.
We put so much effort into baking or finding those fancy artisanal loaves; letting them go to waste is simply not an option, seriously. Today, let’s talk about the weird science behind why your loaf gets sad and how you can keep your kitchen staples feeling fresh for way longer, more or less. It is all about managing the wetness and getting the hang of the chemistry of starch, obviously.
Understanding the Starch Move

To fix the problem, we have to understand the enemy, strictly speaking. In the kitchen world, we call this process starch retrogradation, but don’t let the big words scare you—it’s actually pretty simple once you break it down, anyway.
When you bake bread, the starch bits soak up water and get all big and puffy. This is called gelatinization, and it's why the bread starts out soft and bendy, you know. However, as the loaf cools down and just sits there, those starch molecules start to line back up and turn into crystals, basically. They essentially shove the water out of their structure and back into the middle or the air, clearly. This is what makes the bread go hard and crumbly, which is the literal definition of "stale," at the end of the day.
Cold spots, like your standard fridge, actually make this happen way faster, honestly. This is why putting fresh bread in the fridge is the quickest way to ruin your life, seriously. It speeds up that crystal formation, making your crust chewy and the middle tough in just a few hours, which is a total nightmare, to be fair.
The Best Moves for Your Loaf
So, how do we outsmart the science, anyway? Here are my pro tips for keeping your bread in peak condition, obviously.
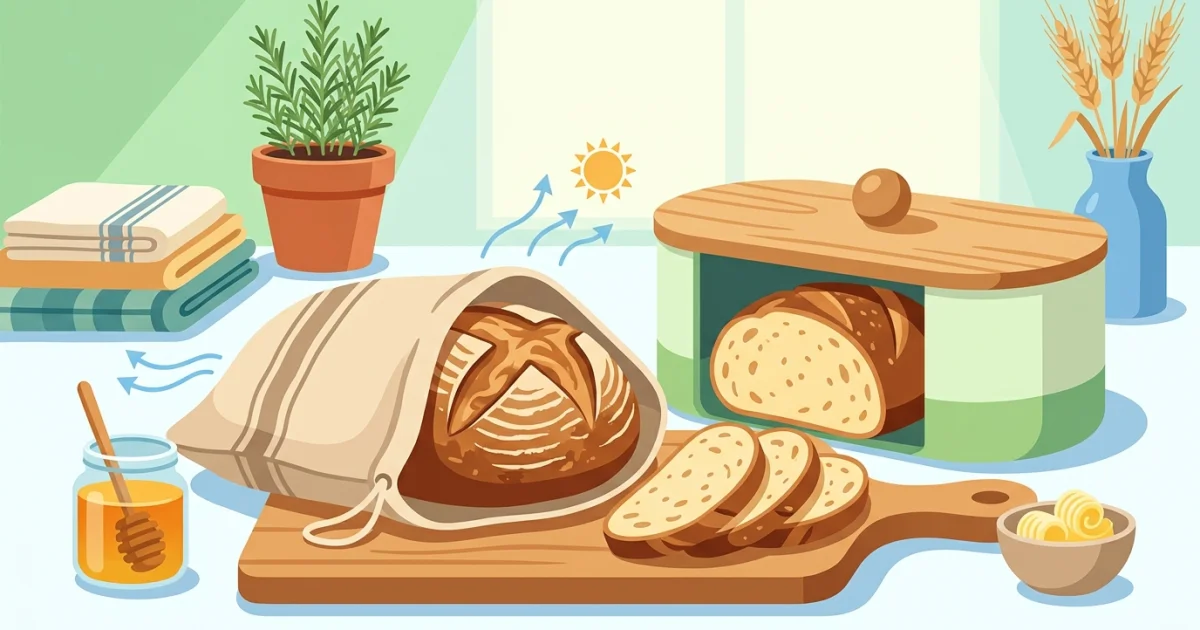
1. The Bread Box
A good wooden or ceramic bread box is a solid investment, strictly speaking. It gives the loaf a home that is dark and cool but not totally airtight, more or less. This allows for a tiny bit of airflow, which stops the crust from getting too mushy while keeping the inside nice and moist, honestly.
2. Paper Bags vs. Plastic Bags

The bag you pick depends entirely on the vibe of your crust, seriously:
- Paper Bags: Use these for those crunchy, old-school hearth loaves, anyway. The paper lets the loaf "breathe," which keeps that fancy crust snappy, clearly. Just know these will dry out faster, so plan to eat them within 24 hours, more or less.
- Plastic Bags: These are perfect for soft sandwich slices or buttery brioche, you know. Plastic traps the hot wet air and moisture inside, keeping the middle tender, honestly. If you see too much fog forming inside, just poke a few tiny holes in the bag for a bit of air, basically.
3. The Freezer is Your Best Friend
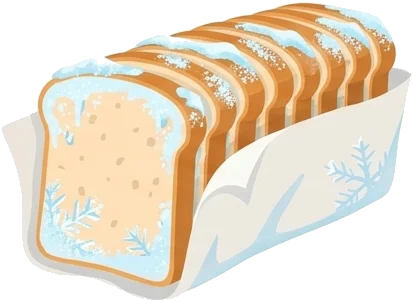
If you can't finish a whole loaf in two days, don't let it just sit on the counter, strictly speaking. Freeze it immediately, seriously. My personal trick? Slice the whole thing before you toss it in. This lets you pull out a single slice whenever you need it without having to thaw the entire package, at the end of the day.
- Wrap the bread tight in parchment paper first, clearly.
- Slide it into a heavy-duty bag for the cold box, anyway.
- Squeeze out as much air as you can before you seal it up, honestly.
- Pop that frozen slice right into your toaster or a warm oven for a fresh-baked feel, more or less.
Olivia’s Pro-Tips for Bringing Bread Back to Life

If you forgot a loaf on the counter and it feels a bit like a brick, don’t toss it yet! You can do a little kitchen magic to bring it back, seriously:
- The Water Mist Move: Lightly spray the crust with a bit of water, strictly speaking. Pop it into a preheated oven at 175°C for about 5 to 8 minutes, anyway. The steam will soften the middle while making the crust snappy again, clearly.
- The Toast Hack: If you’re making toast, frozen bread works perfectly, honestly. The heat from the toaster skips that whole crystal process and basically "re-melts" the starch just enough to make it delicious again, you know.
Bread is almost like a living thing, in a way, at the end of the day. Treat it with a bit of love, store it right, and you will always have the perfect buddy for your evening ale or morning coffee, seriously. Happy baking, everyone!
Leave a Reply or Contact Us
Have questions about the recipe or want to share your baking results? Fill out the form below!